In this blog, I’ll talk about how one can use Linux and Vagrant to setup a website on a virtual machine. One does not need to be an expert in Linux or Vagrant to be able to implement this project. Having a basic knowledge in both skill set should be fine. We will be setting up a website on a virtual machine with centos7. Before we do that, we need to install a virtual machine and vagrant on our Linux based system. The rest of the requirements will be mentioned later on in the blog. I assume you already know what vagrant and virtual machine are and how they work but if you don’t, here is a really simple explanation of what they are. A Virtual Machine (VM) is a compute resource that uses software instead of a physical computer to run programs and deploy apps. One or more virtual “guest” machines run on a physical “host” machine. Each virtual machine runs its own operating system and functions separately from the other VMs, even when they are all running on the same host. This means that, for example, a virtual MacOS virtual machine can run on a physical PC.

Virtual machine technology is used for many use cases across on-premises and cloud environments. More recently, public cloud services are using virtual machines to provide virtual application resources to multiple users at once, for even more cost efficient and flexible compute. Virtual machines (VMs) allow a business to run an operating system that behaves like a completely separate computer in an app window on a desktop. VMs may be deployed to accommodate different levels of processing power needs, to run software that requires a different operating system, or to test applications in a safe, sandboxed environment. Virtual machines have historically been used for server virtualization, which enables IT teams to consolidate their computing resources and improve efficiency. Additionally, virtual machines can perform specific tasks considered too risky to carry out in a host environment, such as accessing virus-infected data or testing operating systems. Since the virtual machine is separated from the rest of the system, the software inside the virtual machine cannot tamper with the host computer. The virtual machine runs as a process in an application window, similar to any other application, on the operating system of the physical machine. Key files that make up a virtual machine include a log file, NVRAM setting file, virtual disk file and configuration file. The most popular VMs are VirtualBox and VMWare. In this project, we are going to use VirtualBox.
Vagrant is a development environment automation tool built and managed by HashiCorp. It accomplishes this by leveraging virtual machines with VirtualBox, VMWare, or cloud providers like AWS. It’s primarily designed to standardize environments across platforms. However, it’s not limited to that. Vagrant can be especially useful for cross-platform automated tests. It is a tool for building and managing virtual machine environments in a single workflow. With an easy-to-use workflow and focus on automation, Vagrant lowers development environment setup time, increases production parity, and makes the “works on my machine” excuse a relic of the past. Vagrant makes it easy to create reproducible virtualised environments. Machines are provisioned on top of VirtualBox, VMWare, AWS, or any other provider. Vagrant includes support for configuration management tools like Chef or Ansible. Naturally you can use simple shell scripts to automatically install and configure software as well. All of this is defined in a Vagrantfile. The Vagrantfile defines the “box”, VM customizations (like memory and networking settings), and which provisioners to run. The “box” is a base image. This may be a VirtualBox image or an AMI (Amazon Machine Image) on AWS. Essentially, this is where you decide the operating system. Then, you use the various provisioners to set everything up. Once you have everything in the Vagrantfile, you’re ready to go. Now anyone can recreate the same environment with a few short commands.
These features are useful in modern teams. Engineers can define a Vagrantfile that installs all the programming language tools and databases for their work. Then, they can be distribute it amongst them, so that everyone can work in the same environment of their OS. DevOps teams can use Vagrant to spin up multiple VMs running different Linux distributions to test configuration management in different systems. It also makes it easy to create disposable environments to experiment with different technologies. It’s also possible to package up your entire product in a Vagrantfile and give that to your designers or product owners, as a way to experiment with the product. This encapsulation makes Vagrant a useful tool when testing various infrastructure project. Here’s an example. Let’s say that you’re working with a configuration management system like Ansible to install and configure MySQL on different Linux distributions. Vagrant can be used in the test process to spin up VMs for each distribution and run the configuration management.
Okay so I said a simple explanation but I think I ended up going into details :). The project that we are going to do is simply host a website on the VirtualBox using Vagrant. The project is going to be implemented on Ubuntu. Firstly, we need to download VirtualBox and Vagrant and we are going to do that using the bash terminal.
Install VirtualBox and Vagrant
Install Virtualbox
$ sudo apt update

$ sudo apt install virtualbox
Install Vagrant
$ wget -O- https://apt.releases.hashicorp.com/gpg | gpg --dearmor | sudo tee /usr/share/keyrings/hashicorp-archive-keyring.gpg

$ echo "deb [signed-by=/usr/share/keyrings/hashicorp-archive-keyring.gpg] https://apt.releases.hashicorp.com $(lsb_release -cs) main" | sudo tee /etc/apt/sources.list.d/hashicorp.list

$ sudo apt update && sudo apt install vagrant
Now that we have our virtualbox and Vagrant installed, we are going to host centos7 on the virtualbox using Vagrant. This can be done manually without Vagrant but as a DevOps Engineer, automation is an ultimate need for DevOps practices so we are going to save ourselves from doing it manually. To setup the VM with Vagrant, we need a Vagrant Box name which can be gotten from Vagrant’s official website. We also need a project directory where the project will be based, a Vagrantfile which is the centos7 linux distribution and Vagrant commands to setup the VM.
Setup VM with Vagrant
Create project directory in home and execute Vagrant commands
$ cd /home/

$ mkdir vagrant-vms

$ cd vagrant-vms/

$ mkdir centos7

$ cd centos7/

$ vagrant init geerlingguy/centos7
The commands above will setup a Vagrantfile in the centos7 directory. All we have to do is run vagrant up and centos7 will be setup in the virtualbox. Looks simple right? That is the power of Infrastructure As Code (IaC). We are going to do the next part manually to get the understanding of how the website is hosted on centos7. Once everything is done, we will automate the whole process in the next blog. Before we setup the website, we must specify a primary ip address to access it. We will use the private ip 192.168.56.14. We will then setup a bridge network to make the VM appear as another physical device on our network. Also, we are not going to build the website from scratch. The website template we’ll use can be gotten from Tooplate. Let’s make the configuration changes in the Vagrantfile before starting the VM.
Network Config Changes For VM
Run vi Vagrantfile
- Change the ip address in Vagrantfile to 192.168.56.14. Do that by unharshing and changing the ip config.vm.network “private_network”, ip: “192.168.56.14”
- Unharsh config.vm.network “public_network”
The changes should look like this

- Once you save the changes, run
vagrant upto launch centos7 on the VM - Run
vagrant sshto login to the VM
Host Website
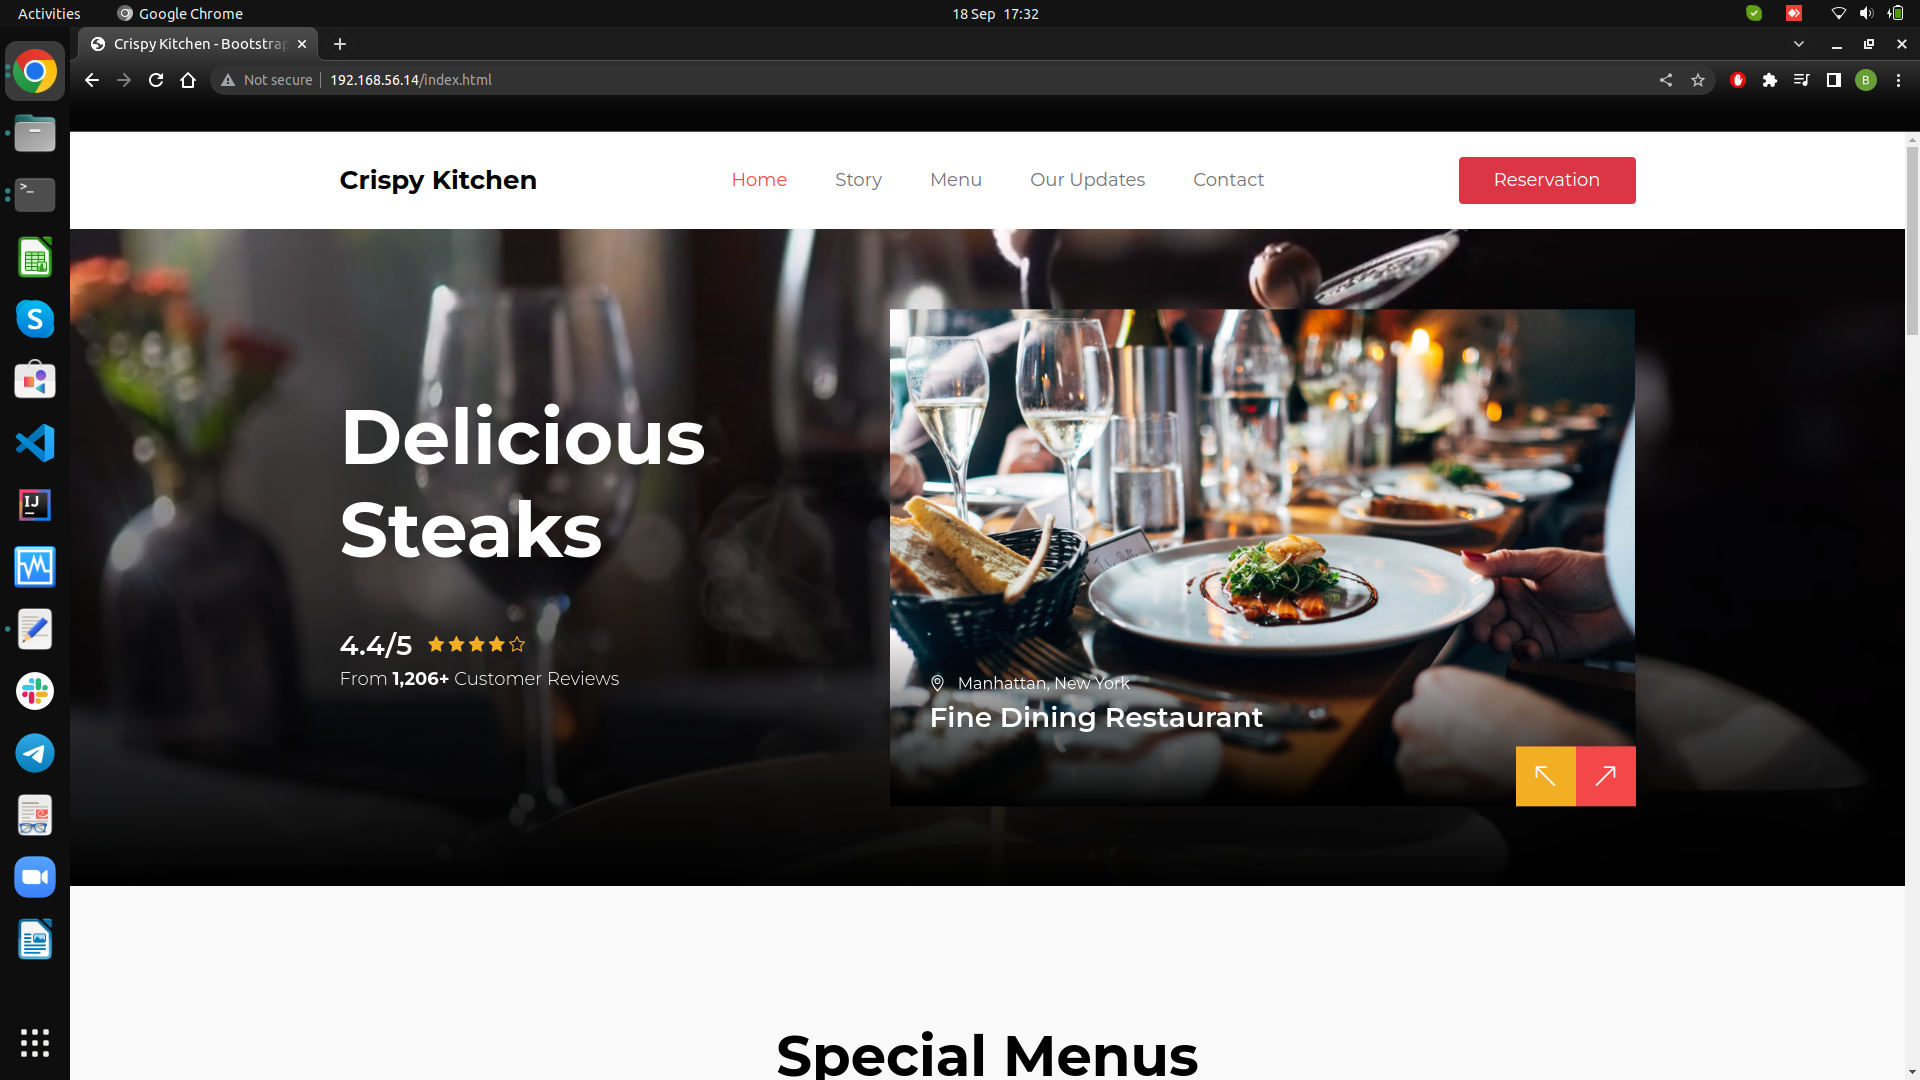
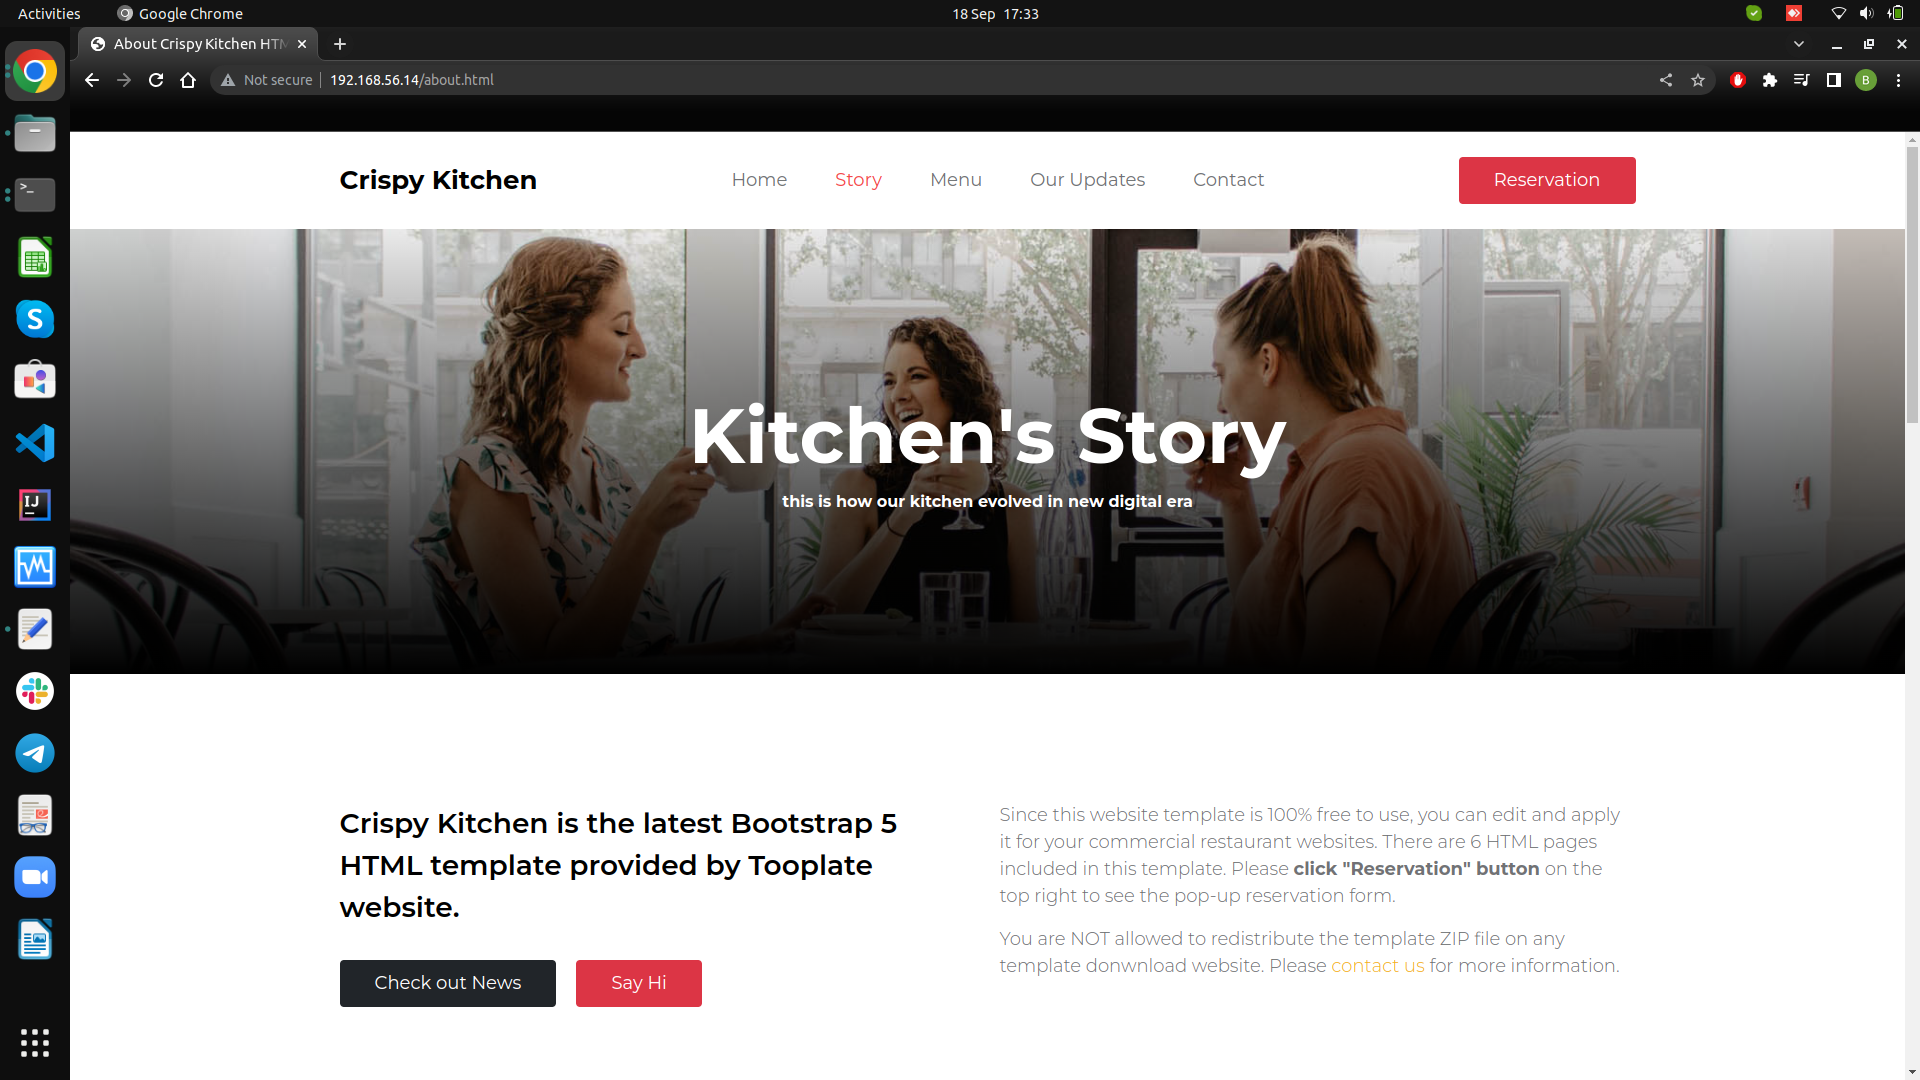
As I mentioned earlier, the website template is gotten from Tooplate. It is a place where various templates of websites can be found and downloaded for free. We are going to use a website for a restaurant called Crispy Kitchen. The link to the website can be found above. We are going download the website template using wget command to the server data directory and run httpd service on the centos7 VM to host the website on it. Let’s see the commands on how to host the website.
$ sudo -i

$ yum install httpd wget unzip -y

$ systemctl start httpd

$ systemctl enable httpd

$ cd /tmp/

$ wget https://www.tooplate.com/zip-templates/2129_crispy_kitchen.zip

$ unzip 2129_crispy_kitchen.zip

$ cd 2129_crispy_kitchen

$ cp -r * /var/www/html/

$ systemctl restart httpd
Okay! So that should do it. Once you run the last command, copy the static ip 192.168.56.14 and check it in your browser. You should see the website running on the browser. In summary, we have hosted a website on a Linux distribution (centos7) in a virtual machine. We set up the packages and dependencies, started and enabled the httpd service, and deployed an artifact which is this template. Feel free to setup any other website if you like instead of what I’ve done. If you want something else, you can go through the website templates on Tooplate and try that. You can also try it on your personal website. In the next blog, we will automate the whole setup by using Infrastructure as a code which is Vagrant Provisioning. We will write a Vagrantfile with the whole setup in it and once we launch the VM, it’ll automatically launch the setup.
Cheers!